Craft project for 1966 Batman geeks
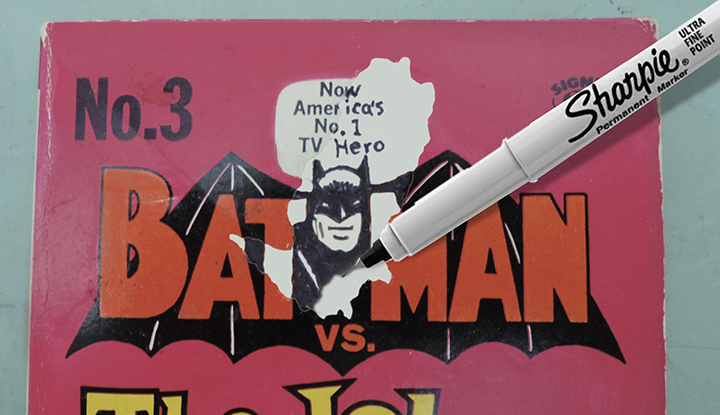
Do you need to buy a copy of the 56-year-old paperback digest “Batman vs. the Joker” (Signet, 1966), but you’re on a careful budget, so instead of forking over, like, 60 bucks for one in decent condition, you buy one for seven bucks with a cover that has a large, unsightly “tape pull” (which means tape got stuck to it and pulled off the printing, exposing the white paper underneath), even though the sight of it on your shelf may depress you for the rest of your days?
Here’s how to get the “last laugh” on this injured Joker collectible.
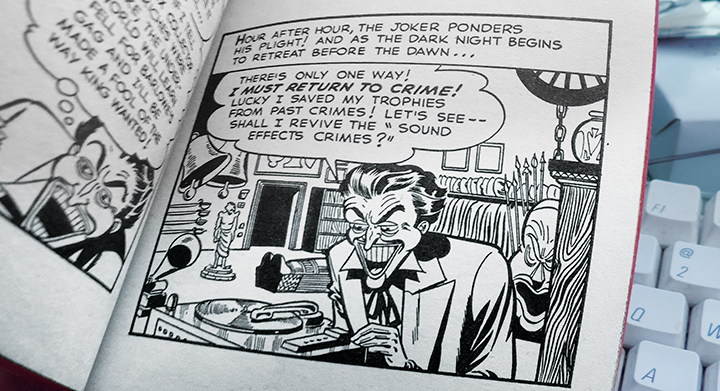
After all, it’s what’s inside that’s most important — crazy, cool Joker stories from the 1940s and ’50s, which were much wilder (and much closer in tone to the TV show) than the contemporary Batman stories then published by DC Comics. To me, at eight years old, I thought the Signet digests and DC’s 80-Page Giant editions were contemporary Batman stories. What did I know?
What you’ll need
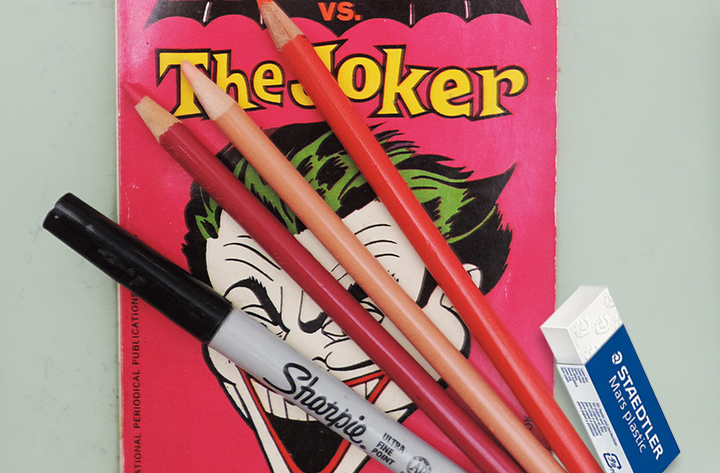
You will need 10 things: a No. 2 pencil; an artist’s eraser; a sheet of typing paper folded horizontally; an Ultra Fine Point black Sharpie; a Berol Prismacolor pencil #3416 (Pumpkin Orange); a Berol Prismacolor pencil #3366 (Peach); a Berol Prismacolor pencil #3358 (Magenta); an image of an untorn “Batman vs. the Joker” cover (which can easily be Googled) for reference; and a modicum of drawing ability. Note: If you have no drawing ability, perhaps you can prevail upon a friend or relative who does.
How to do it
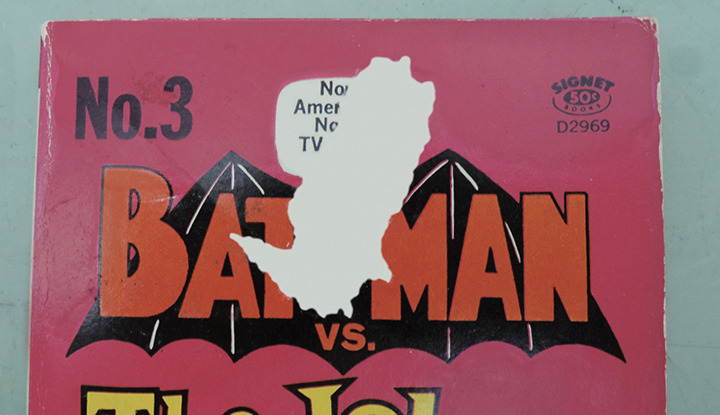
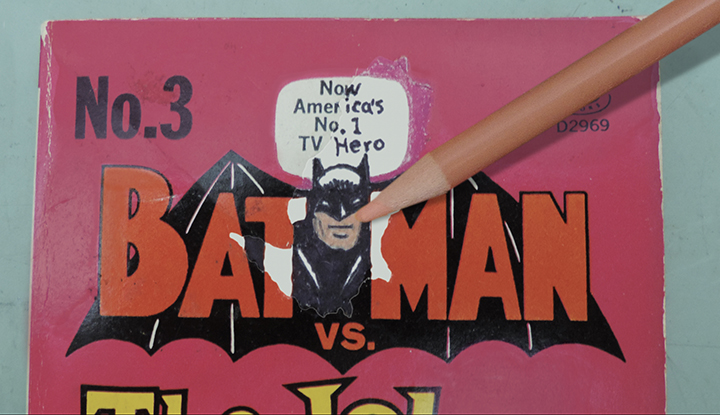
■ STEP 1: Using the untorn cover image as a reference, lightly pencil in the art and typography that are missing from the injured cover. Note: It’s better to be “confident” than “sketchy” while pencilling, as excess erasing down the road may be messy.
■ STEP 2: For protection against bleed-through, place the folded sheet of typing paper between the inside front cover and title page. Using the Ultra Fine Point black Sharpie, deliniate missing black lines and typography. Work carefully during this stage, as anything you ink will be permanent. There will be some slight bleed-through on the (blank) inside front cover. (If this is counter to your collecting standards, forego this craft project and purchase a more expensive copy of “Batman vs. the Joker” — one without a tape pull on the cover.) Fill in any all-black areas with the Sharpie. (Do not switch to a medium-tip Sharpie for this chore, as it may bleed.)
■ STEP 3: Gently erase any pencil lines that still show.
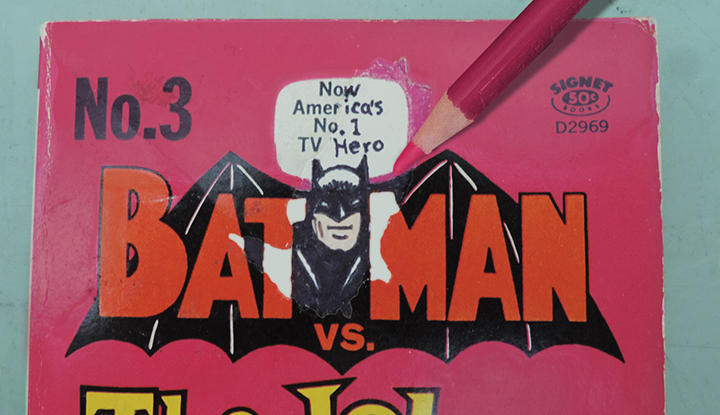
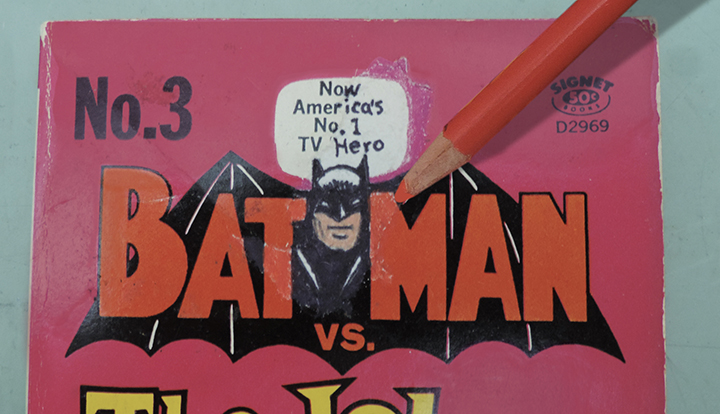
■ STEP 4: Using the Magenta Berol color pencil, fill in the appropriate background areas. (You will have to delineate the outline of the white TV-screen-shaped box above the Batman logo.)
■ STEP 5: Using the Peach Berol color pencil, fill in the part of Batman’s face that shows through his cowl. (Can ya believe such a color was once called “Flesh”? Like, one tone fits all?)
■ STEP 6: Using the Pumpkin Orange Berol color pencil, fill in the typography in the Batman logo. You’re all done!
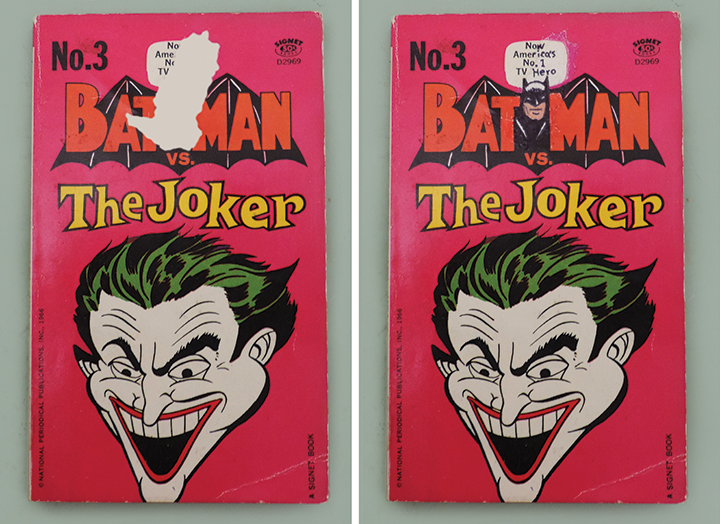
Above left: The cover with the unsightly tape pull. Above right: The same cover restored. The result, though far from perfect, will make your copy of “Batman vs. the Joker” look much more palatable when placed upon your shelf. From a distance, the restoration will hardly be noticeable.
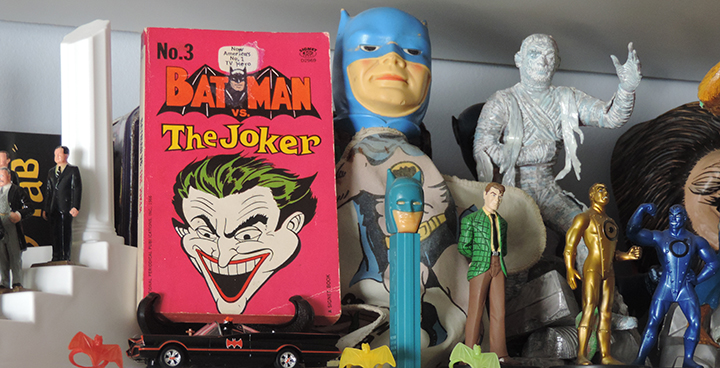
Here’s how our copy of “Batman vs. the Joker” looks on the shelf. How about yours?
Next on ‘Craft Project for 1966 Batman Geeks’
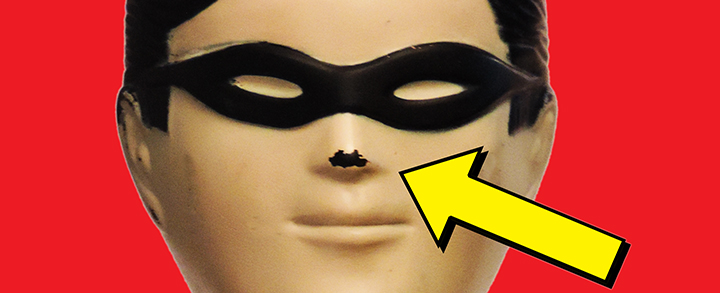
Holy blemish, Batman! Does your Colgate Robin Soaky bubble-bath toy have worn paint, right on the tip of the Boy Wonder’s nose? There must be something in the trusty utility belt for that. Tune in to find out — same bat time, same bat channel!
